Sunday, April 15, 2012

Better than McDonald's Breakfast Sandwich


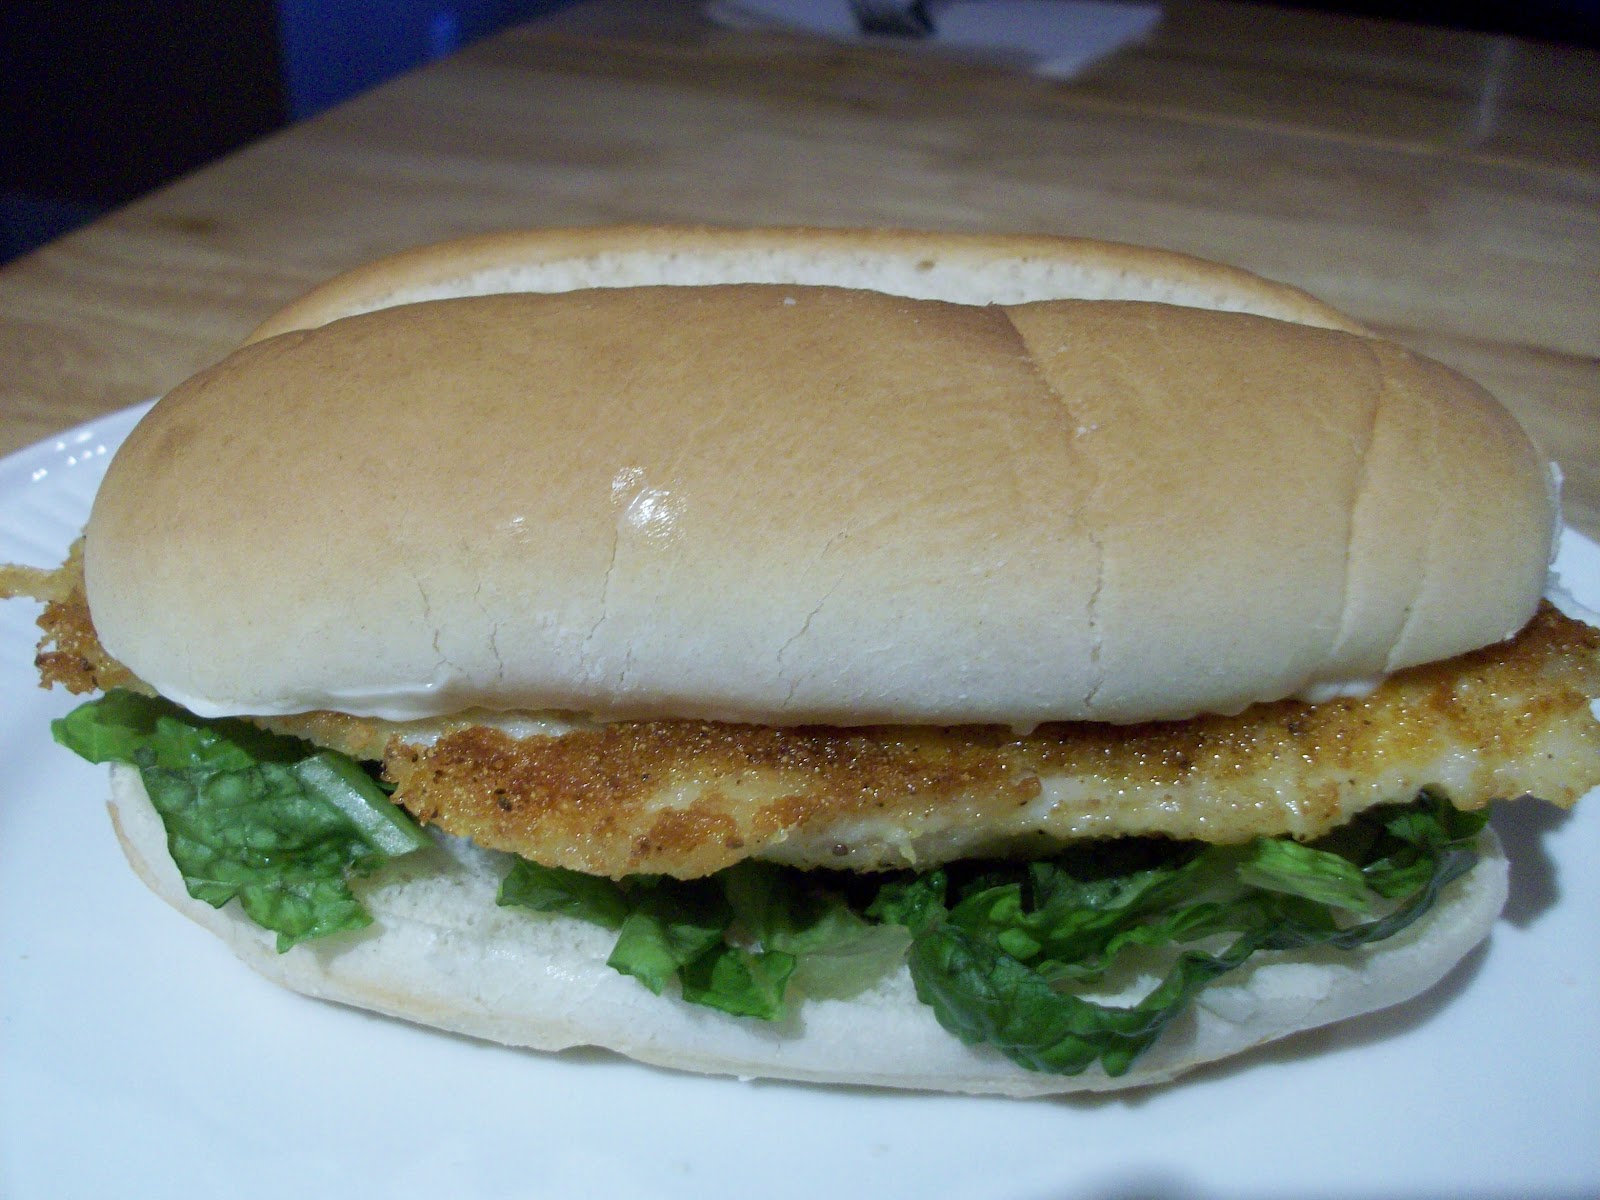
Who doesn't love a breakfast sandwich first thing in the morning?  Breakfast sandwiches are a weekend breakfast staple for us and never get old since you can change the ingredients, depending on your mood.  I usually make ours with a combination of bread, cheese, egg and sometimes meat.  My standard sandwich is with 1 egg cooked over hard, 1/2 to 1 full cheese single on a whole wheat english muffin.  However, the bread, egg, meat and cheese options are endless!  Here are some suggestions, I'm sure there are many more!

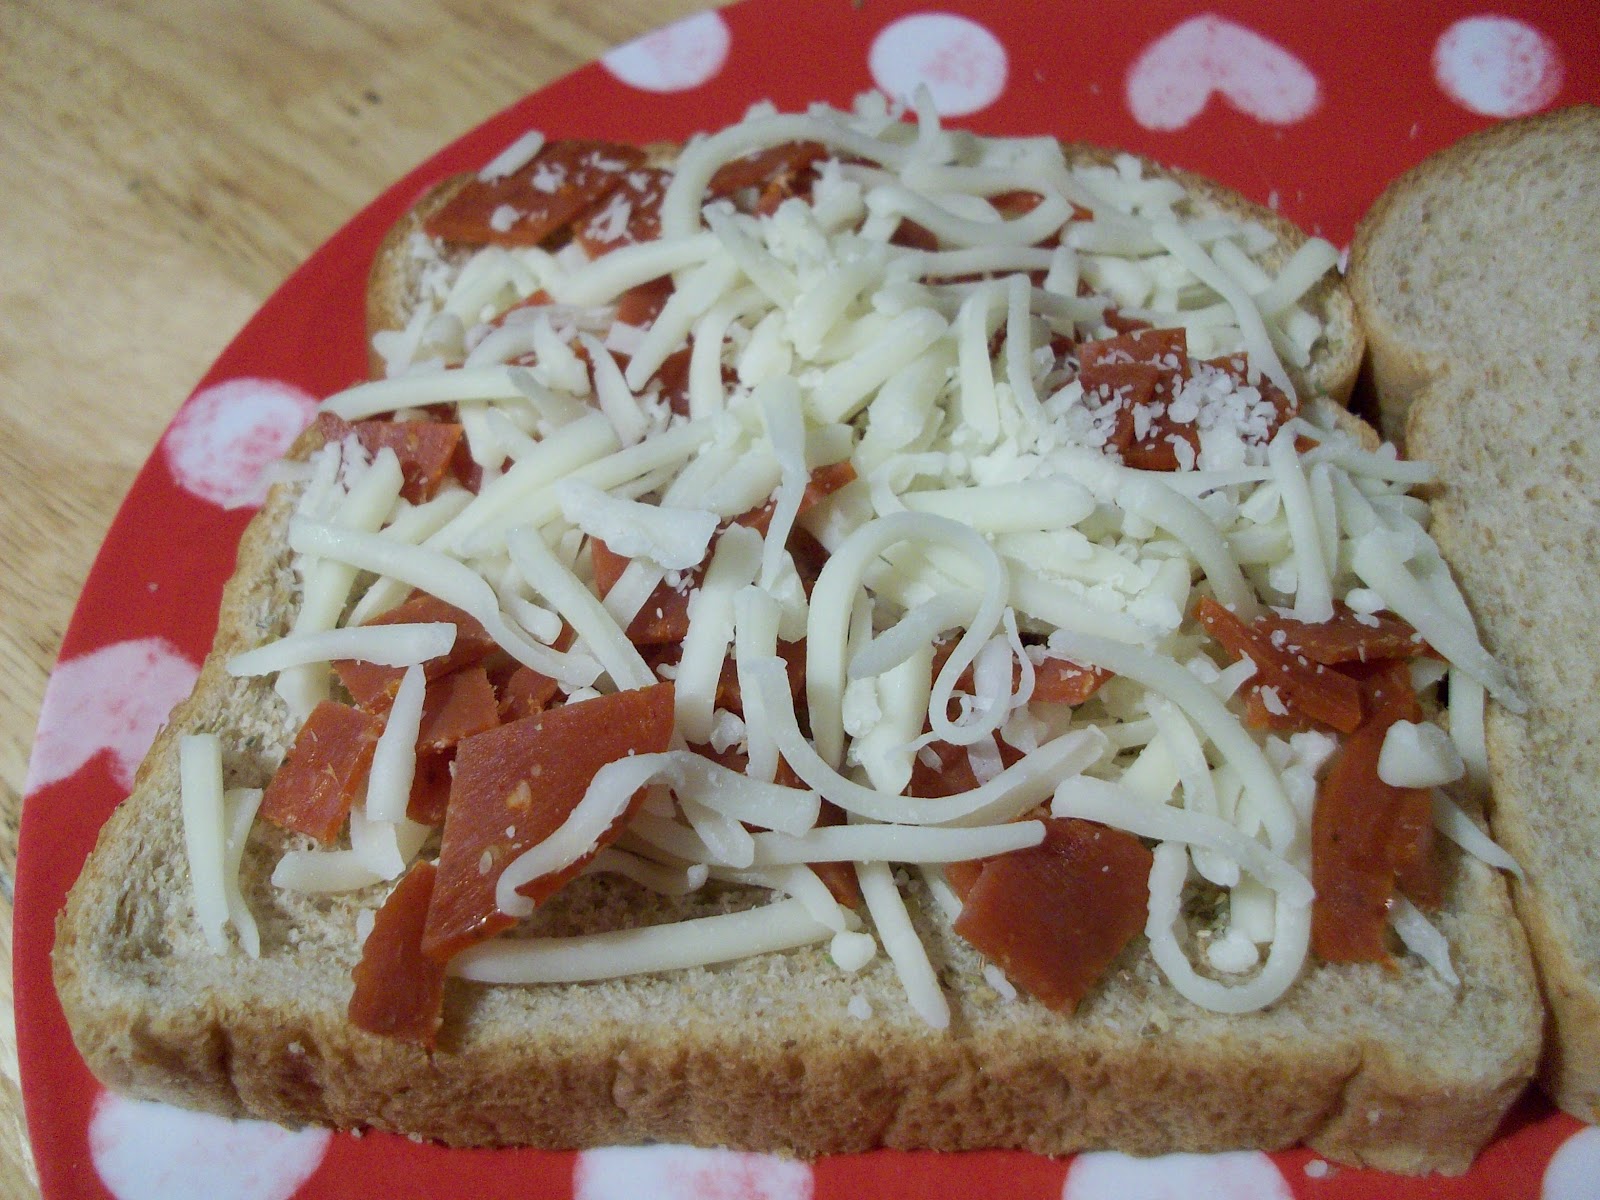
Bread: sliced bread, english muffin, bagel, biscuit
Meat: Canadian bacon, real bacon, turkey bacon, sausage patty, turkey sausage patty
Cheese: cheese single, shredded cheese, cream cheese, feta cheese, goat cheese
Eggs: over hard, over medium, over easy, poached, scrambled, egg white
Other: spinach, sauteed mushrooms, sliced tomato, ketchup, hot sauce

It's probably self explanatory how to make your sandwich... but here's a quick explanation or how I make my usual breakfast sandwich.

Put the english muffin in the toaster. Spray a small non-stick saucepan with Pam spray.  Heat pan for about 2 minutes over medium heat.  I put my burner on 5 (out of 8).  For my usual over-heard egg, I break 1 egg into the pan and cook until it looks set, about 1-2 minutes.  Gently flip egg over.  It's okay if it breaks apart, just try to push it back together into a shape that will fit onto your bread.  If I was using meat, at this time I would place it in the other side of the saucepan. 


Cook egg for another minute or two.  Meanwhile, your bread has probably finished toasting.  I put it on the plate and put the cheese on one side and squirt a little ketchup and hot sauce on the other side. 


When the egg is done, I place it on top of the cheese, top with the other piece of bread and enjoy!  If I was using meat, I'd add that to the sandwich once it finished cooking, hopefully at the same time the egg is done. 


I hope this sandwich idea, whichever option you choose, brings a little joy to the start of your day, like it does to mine!

What are you favorite breakfast sandwich ideas?  I'd love to hear them!

xoxo Melissa


Saturday, April 7, 2012

How to Cut Up a Pineapple


In college I worked in a prep kitchen at one of our dining halls.  My job was to cut up fruits and vegetables, generally: pineapple, cantaloupe, honeydew melon, green peppers, onions, and anything else the kitchen might need. It wasn't uncommon to walk into work and have 40 pineapples to cut up or a bushel of green peppers waiting for me.  It wasn't necessarily my favorite job, but it allowed me to become pretty good at prepping foods, especially tricky ones like pineapple.  When I came home from college, my mother would actually buy pineapples for me to cut up for her.  It's really quite easy once you get the hang of it and then you will never have to buy a pre-cut pineapple at the grocery store, which are sometimes twice the cost of a whole one!


Here's what you do.  Step one, take your pineapple and lay it down sideways on your cutting board. 


Hold the pineapple with your non-dominant hand and cut off the top and bottom with your other hand.  With a sharp knife, it shouldn't be too hard to cut through.


Stand the pineapple upright and slice the pineapple in half, from top to bottom.  Then turn it 90 degrees and make another cut from top to bottom, creating 4 equal pieces.


Take one quadrant and slice off the inner core, which is usually 1/2 - 1 inch thick on the pointy end of the pineapple quadrant.  The core is hard, lighter than the pineapple "flesh" and not generally eaten.  If you don't cut it all off the first time, you can just make another cut to get it all.  Do this to all four pieces.


Take one of the quadrants and lay it on the cutting board, flesh side up.  You're going to take your knife and make a diagonal slice on each side, separating the flesh from rind.  Repeat with other 3 pieces.


Cut pineapple flesh down the middle, length-wise. Repeat with other 3 pieces.


Turn pineapple length-wise and slice into smaller pieces.  I store my cut up pineapple in plastic food-storage containers in the refrigerator.  Depending on how ripe your pineapple is, it should last a few days to up to a week. 


How easy was that?  Believe me, once you do it a few times, it'll become second nature and you won't even have to think about it .  Good Luck!

xoxo Melissa


Tuesday, April 3, 2012

Breakfast Black Beans


I've always been a fan of Sandra Lee.  Maybe it's the similar name, Sandra Lee, Melissa Lee?  Maybe it's the cool tablescapes or fun cocktails she makes on her shows?  Who knows?  In any case, I'm generally a fan of her recipes, although I sometimes don't use all of her cooking shortcuts.  I came across one using refried black beans several years ago from one of her Semi-Homemade cookbooks.  I had never seen nor used refried black beans and thought I'd give it a whirl!   I modified it slightly a few years ago and do not remember her exact recipe any longer, however I think my version is pretty good and not to mention quicker and easier to make!  This recipe is a great side with some eggs and potatoes and makes for a hearty breakfast.  On occasion I will serve these beans for dinner with enchiladas, tacos or quesadillas. 

Breakfast Black Beans
Serves 3-4

1 can (14.5 oz) Refried Black Beans
1/4 cup Salsa
1/4 cup Chopped Cilantro
diced green chilies, optional
sour cream, optional


In a small saucepan, over medium-low heat, add beans and salsa.  Stir together.   Once incorporated, add almost all of the cilantro, saving just enough to sprinkle on the finished dish.  Stir occasionally until warmed through, about 5 minutes. 


I know it may not look delicious from this picture.  Give it a chance, it is refried black beans after all. I don't know if they were really meant to be a "pretty" food.  Spoon a helping onto a dish and serve with a sprinkling of cilantro.  If I happen to have a small can of diced green chilies, I might add a tablespoon or two and stir in with the salsa.  I'm pretty sure Sandra used this in her original recipe, however if I don't have any in the pantry I just go without and it's fine. If I also happen to have sour cream on hand, I might add a little dollop on top if I'm feeling a little luxurious.


xoxo Melissa

Friday, March 30, 2012

Meeting Jeni from Jeni's Splendid Ice Creams

I had butterflies in my stomach, my pulse quickened and I could feel myself getting anxious.  Was I getting ready to give a presentation at work, go to the doctors or some other place which would evoke this sort of feeling?  No, I was on my way to meet a local food celebrity - Jeni of Jeni's Splendid Ice Creams fame.  If you're from Columbus, you most likely know about Jeni's Splendid Ice Creams.  The creator, Jeni Britton Bauer, is like a celebrity to me.  Her ice cream is addictive and the fact she started this small company and how it's grown is impressive.  She makes the most unique ice cream flavors including Ugandan Vanilla Bean, Salty Caramel and one of my personal favorites, Goat Cheese with Cognac Figs. Yes, you read that correctly, goat cheese in ice cream.  As you can see, you're not going to find any regular mint-chocolate chip here!

I had the opportunity to take a cooking-demonstration class taught by Jeni this past month, which is what brought on the emotions listed above.  During the class she demonstrated how to make two different flavors: rose ice cream with white chocolate and almonds and an orange infused ice cream with chocolate flecks, which by the way, were amazing!  While instructing us on how to make these flavors, she discussed different aspects of herself, her company, differences between making ice cream for her stores vs. making it in smaller batches at home and the technical science behind making ice cream.  Who knew ice cream was such a complicated science? 

I generally don't allow myself to buy cookbooks because 1. I already have so many and 2. So many recipes are now available online or courtesy of my local library.  However, I considered this a special circumstance and bought a copy of her cookbook.  This would give me the opportunity to both meet her to sign it and learn how to make better ice cream at home.  Can I just say she is one of the nicest people I've ever met!  Not that I expected her to be otherwise, but she was so friendly, open and talkative to everyone there.  When it was finally my turn to meet her, I asked her what advice she'd give to someone, like myself, who might want to start a food business one day.  We spoke for a bit about my food interests and she finally said something to the point that sometimes you just have to jump in and do it.  Start out small, but start none-the-less.  So that's what I'm doing.  Every recipe I made, success or fail, is one small step towards my foodie aspirations. 

I wish her the best of luck and I know with our love of her ice cream, Jeni can count on Kevin and I to be repeat customers for years to come!  If you're lucky enough to live near one of her stores and have yet to try it out, please go, you will not regret it!

P.S.  I have already made one recipe from her cookbook.  It was honestly the best ice cream I've ever made at home.  If you enjoy making ice cream at home, I suggest buying her book. 

Here are a few pictures from the class:


Jeni Demonstrating her ice cream making skills


Meeting Jeni!


Thursday, March 29, 2012

Pizza Grilled Cheese


Have you ever had a food craving where you know it wasn't going to subside until you ate whatever it was?  I tend to get those a lot.  Just the other day I was in the mood for a grilled cheese sandwich when I remembered we were all out cheese singles - what was a girl to do when a craving hits! After remembering the left over ingredients from making pizza the other night, I thought "what about pizza in the form of grilled cheese?   Could it be done?"

The answers is "Yes!"  I'm here to show you how to do it:

Pizza Grilled Cheese
Serves: 2

4 slices of Bread
1/2 cup Shredded Mozzarella Cheese
1/4 cup Turkey Pepperoni, chopped
dash Italian Seasoning
1/4 cup Pizza Sauce
*sliced Black Olives, optional


Butter one side of each bread slice. With the buttered side laying on the plate, sprinkled on some mozzarella, a dash of Italian seasoning, the chopped pepperoni and then the rest of the cheese.
Putting cheese on the bottom and the top will help make the contents stick to both pieces of the bread.

*Side Note: I happened to have some left over black olives in the refrigerator, so I added a few to my sandwich.  Feel free to add any of your favorite pizza toppings too!


Top with the other slice of bread, buttered side facing up.  Pre-heat a sauce pan, over medium heat, for about 2 minutes. Since I used a non-stick pan and the bread was buttered, I didn't spray the pan with cooking spray.  Place sandwiches in pan, cook for 5-6 minutes total.  I cooked the first side for three minutes, flipped and cooked for two more and then flipped back to the original side for one more minute.


Serve with a side of warmed pizza sauce.


Enjoy!

P.S. Hubby asked for a second sandwich after finishing his first, so make sure you have extra ingredients on hand!

xoxo Melissa

Friday, March 23, 2012

Mediterranean Pizza


While my husband and I are generally healthy eaters, we both really enjoy pizza.  We occasionally splurge and order it, but I'm a big fan of making it myself.   This allows me to make it healthier, add whatever toppings I want and it's much cheaper.   I usually make the pizza dough recipe from my Martha Stewart Everyday Cooking cookbook, however I found this whole wheat pizza recipe on her website recently and thought I'd give it a go. 

When I lived in Massachusetts, there was a pizza place near me called Three Aces.  They made the BEST Mediterranean pizza and I've been hooked ever since.  I don't know if I'd call this "healthy" or not... but I like to think it's on the healthier side as far as pizza goes.

Mediterranean Pizza
Serves 2-4

1/2 recipe of Martha's whole what pizza dough, link above.
2 Garlic Cloves, minced
8 oz. Pizza Sauce
1 tsp Leaf Oregano
1 (10 oz) Box Frozen Spinach, thawed
1/2 (14.5 oz) can Artichoke Hearts, drained and diced
1 (2.35 oz) can sliced Black Olives, drained
1/4 cup sliced Banana Peppers
1 cup shredded Mozzarella Cheese
1/3 cup Feta Cheese


Make pizza dough per Martha's directions.  When making pizza dough, I generally freeze half of the recipe for later use.  I used 1/2 of Martha's recipe.  Pre-heat oven to 450 degrees. Sprinkle a little cornmeal on a kitchen counter.  Roll out dough to the desired shape.  Place dough on a 15-inch pizza pan sprayed with cooking spray.  I usually let mine sit for about 10 minutes if it doesn't quite fit the pan and then try to stretch it out a little further, right on the pan.  With a fork, make prick marks all over the dough to prevent any air pockets from bubbling up.  Bake pizza shell for about 10 minutes.  Check on it every few minutes to make sure no air pockets are forming.  Take dough out of the oven. Sprinkle minced garlic over crust. Spread sauce over dough & garlic and then sprinkle with oregano


Layer on ingredients: spinach*, artichoke hearts, black olives, banana peppers, mozzarella and feta cheeses.

* Once spinach is thawed, take small handfuls over the sink and squeeze out the water.  You don't want your pizza to get mushy from excess water


Bake for another 10 or so minutes, until cheese is melted and slightly browned.  Try to let it cool for 5 minutes, if you can!  I love that first bite, with all of the veggies, salty cheese, sweet sauce and crisp whole wheat crust.  I could probably eat this whole pizza if I wanted  to - Enjoy!


This is what the pan looked like when we were done... clearly this was a 2-serving pizza night!


Wednesday, March 21, 2012

Cornmeal-Crusted Catfish Sandwich


With Lent upon us, I've been working on some different fish dishes to serve on Fridays.  My husband will often make cornmeal-crusted catfish or tilapia, which is really good!  In an effort to change things up a bit, I've decided to turn it into a sandwich.  I love a good fried fish sandwich and while those on restaurant menu's call my name, my arteries and overall health say "no!"  This is my slightly healthier take on a fried fish sandwich. 


Cornmeal-Crusted Catfish Sandwich
Serves: 2

2 Catfish filets
2 tsp Cornmeal
1 tsp Old Bay Seasoning
Pepper

1-2 Tbs Extra Virgin Olive Oil for skillet

2 Hoagie Buns
Light Mayo
Shredded lettuce


Lay fish filets on a plate.  Sprinkle on cornmeal, Old Bay seasoning and fresh ground pepper.  Use 1/2 tsp of cornmeal, 1/4 tsp Old Bay and 1-2 grinds of fresh pepper, per side.  Flip filets over and repeat. 


Heat 1-2 Tbs oil in a sauce-pan, over medium heat. You want enough oil to easily cover the bottom of the pan.  Once the pan has heated for a minute or two, add the filets.  Cook for 10-12 minutes total, flipping once.  The cooking time will depend on how big and thick your fish is. 

 
While fish is cooking, take out a cookie sheet.  Lay a paper towel on top of the cookie sheet and put a cooling rack on top.  After the fish is done cooking, you will let them sit here for a minute or two. This step can be optional, but it helps drain any extra oil before putting it on your sandwich.  Plus it gives you time to get your sandwich ready.


Once the filets are done cooking, move them to the cooling rack for a minute or two. 


While the fish is cooling, prepare your sandwich.  On one half of the hoagie bun, spread as much mayo as you'd like.  Top other half of hoagie bun with the shredded lettuce. 


Lay fish on top of lettuce. Top with the other half of the bun. Try not to inhale it all at once!  The salty and slightly crunchy fish filet, combined with the tangy mayo and fresh, crisp lettuce!  Delish!  I hope you enjoy this "healthier" version of a restaurant style fish sandwich as much as I did!


xoxo Melissa

Monday, March 19, 2012

Cocoa Berry Smoothie


I love smoothies!  I love how many national food chains such as Panera and Starbucks are now serving smoothies!  I do NOT love how they tend to cost almost $4.00!  In an effort to not go broke by feeding my smoothie addiction, I have started making my own at home.  Here's one of my recent concoctions.  Enjoy!


Cocoa-Berry Smoothie
Serves: 1

3/4 cup Milk (I used 1%)
1 cup Frozen Strawberries
1 1/2 Tbs Fat Free Whipped Topping
3 tsp Chocolate Pudding Mix, dry


Add all ingredients to the blender:


Blend until smooth. If you find the smoothie too thick, add additional milk as needed. Depending on how thick you want it, you may have to stop and stir a few times.

 
Once smoothie has reached your desired consistency, poor into a cup and enjoy!  At first sip it tastes mainly like strawberries, but has a subtle chocolate flavor from the pudding.  If you want it more chocolate-y, you can always add more pudding mix to it. This makes about 2 cups, which I consider a good 1-serving. Enjoy!


------------------------------------------------------------------------------------
Nutritional Info*
Calories: 233
Fat: 2.5 grams
Fiber: 3 grams


* I have manually calculated this information, based on the ingredients I used. Your own recipe's nutritional information may vary, depending on the specific ingredients you use